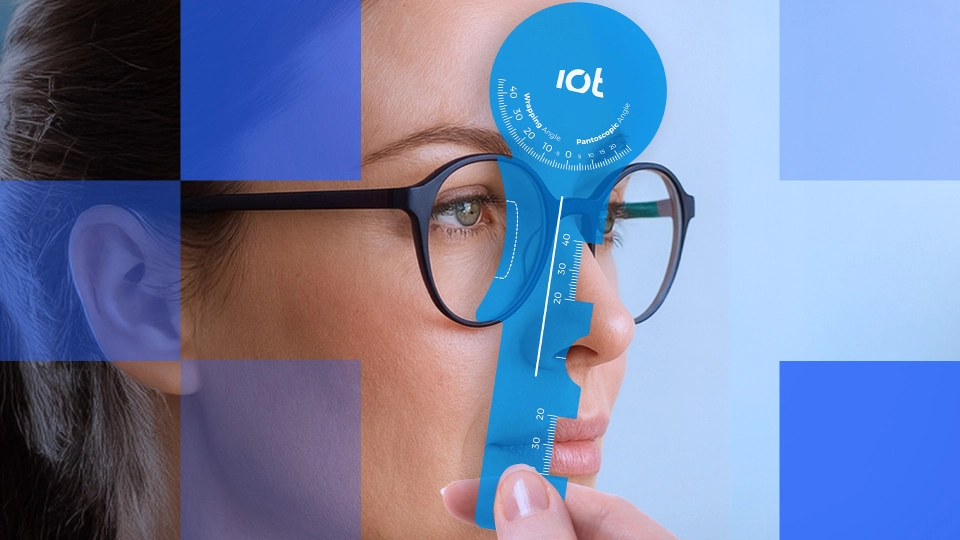
Troubleshooting Progressive Lenses
A comprehensive guide for helping patients who are not adapting to their new PALs
- Four Steps to Troubleshooting
- 1. Have a plan.
- 2. Analyze the Data
- 3. Explain
- 4. Seek advice
- General Progressive Lens Troubleshooting Tips
- "I can see clearly through one pair but not the other"
- "A near vision issue solved by adding pantoscopic tilt"
- “If I do *this* I can see clearly, but if I do *this* it’s worse"
- “My last pair were fine, these are awful”
- IOT Progressive Troubleshooting Guide
- Essential Kit for Troubleshooting

Troubleshooting Progressive Lenses
A comprehensive guide for helping patients who are not adapting to their new PALs
Fitting the ideal progressive lenses for our patients often involves bridging the gap between theoretical optics and real-world visual experiences. This guide outlines practical steps for opticians to enhance patient satisfaction and address common fitting challenges effectively.
Four Steps to Troubleshooting
Addressing patient adaptation issues with progressive lenses requires a systematic approach. Whether it's uncovering the root cause of discomfort or preemptively addressing potential concerns, the following strategies can help to ensure a tailored fit for every individual.

1. Have a plan.
Use a step-by-step formula to guide you and write all the information down. I’ve always found it useful to use a two-column structure where you can add data from the old pair versus the new pair. Side-by-side it’s easy to see where the key differences lie. Look at:
- Rx (separate row for the Add – even better if you write the whole near Rx out)
- Fitting parameters (OC's, Heights, BVD, Panto, Wrap)
- Design
- Progression Length
- Prism Thinning
- Material
- Treatments
*Don't bother with the base curve*
2. Analyze the Data
Once you have all the data, analyze each area: what has changed and by how much? Start with the prescription, then measurements, followed by lens design and so on. A traffic light system is good here to highlight the extent of the change.
3. Explain
Give a brief explanation to the patient as to what you are doing at each step. A patient concern has the potential to become a patient complaint. Empower them with a little extra knowledge and promote the fact you are highly skilled at what you do. The phrase “no one has ever explained that before” is (in my opinion) a real problem in optics.
4. Seek advice
Stumped? The very first person you should call is your lab. They will have seen thousands – hundreds of thousands – of orders over the years: they have a depth of knowledge we cannot imagine, they are the encyclopedias of lenses, and we really do have a lot to learn from our lens manufacturers. I cannot stress this enough: trust in their expertise. Send them your analysis, and they’ll give you the solution.
Download our PAL Troubleshooting Kit
General Progressive Lens Troubleshooting Tips
Not all visual problems can be predicted before a patient tries their new pair of spectacles. Inadaptations or discomfort may occur even after you asked the right questions and took meticulous measurements – because vision is subjective, not everything can be anticipated in just one visit.
Here are some common reasons for return visits involving progressive lenses, and a few tips on how to provide the best care and solve your patient’s issues:
"I can see clearly through one pair but not the other"
Two identical designs, two identical prescriptions, two different frames.
Backtrack to the dispense – did you advise them there could be a difference in quality of vision and size of clear area in a larger versus a smaller frame? It only takes a few mm’s.
"A near vision issue solved by adding pantoscopic tilt"
Be wary. Adding tilt induces changes to the prescription, you could solve one problem and create another.
“If I do *this* I can see clearly, but if I do *this* it’s worse"
Good old position of wear – again, changes to pantoscopic angle or wrap induce prescription changes; listen carefully to the patient. Make a quick adjustment to the angles and see if it improves things. I’m afraid a remake is probably the best thing for the patient, but at least you’ll know it’s a final remake.
“My last pair were fine, these are awful”
A multitude of reasons for this, but where it’s the same design and an increase in Rx it’s usually related to progression length. If you repeat dispense a design with a change of prescription the design changes, sometimes dramatically. You can mitigate this by choosing an appropriate progression length.
Every progressive lens wearer, new or existing should be treated like a new contact lens fit patient at every visit. Look at the menu of lenses you have, look at the different configurations: ask the questions and you’ll find the answer.
With regards to progression length, that’s an article in itself, whether it’s a first time or experienced wearer, progression length should always be a key consideration. Never underestimate the impact of repeat dispensing the same design and progression length where there are changes to the prescription or POW parameters.
IOT Progressive Troubleshooting Guide
Addressing common issues with progressive lenses involves a systematic approach. Here's a straightforward guide to help you identify and solve typical problems:
ISSUE |
POSSIBLE CAUSES | REMEDIES |
|---|---|---|
Tilting head too far up to read |
|
|
Tilting Head Up to See the Distance |
|
|
Looking to the Side to Focus Better |
|
|
Tilting Head Forward to See Distance |
|
|
Tilting Head Forward to Read |
|
|
Near Vision is Blurry |
|
|
Swimming Sensation |
|
|
Reading Area is Too Small |
|
|
Essential Kit for Troubleshooting
Uncovering root causes requires both the right tools and the right approach. Aside from rulers/digital measuring devices every dispensing optician should have a set of flippers, a marker pen and a mirror. For near vision concerns, mark up the lens (fitting cross and NVP), get the patient to hold the reading chart on top of the mirror at their preferred reading distance, stand behind them and as they remove the chart look in the mirror to see if they are looking through the NVP. Credit to Sally Bates for teaching me this many, many years ago - it's a technique I use regularly.
And my final tip…
Don’t pay attention to isocylinder maps.
We use at least 6 different charts to assess designs, and the isocylinder map plays a minor role. Any single chart is meaningless in isolation.
We'd love to know if this has helped, or if you would like more information!
*A tiny proportion of people are genuinely sensitive to base curve changes. When calculating a design, the software will work out which is the optimum base curve for the data provided – the more data given, the more accurate this will be (use accurate POW whenever possible). This is done to reduce aberrations, optimum base curve = better vision.
You might also like:


